


To add a printer to your Mac, you usually just need to connect it to the same Wi-Fi network or plug it in via USB, then follow these steps:
- Open the Apple menu and go to System Settings > Printers & Scanners.
- If the printer is not already set up, click the button to add a printer, scanner or fax.
- Select the device and click Add to confirm.
If the printer supports AirPrint, you do not need to install any additional software. Some models, particularly older ones, may require drivers from the manufacturer.
Connect a printer via Wi-Fi, USB or Bluetooth
If you are using Wi-Fi, first check that your Mac and printer are connected to the same network. On models with a display, you can usually select the network in the printer’s own settings. Then return to Printers & Scanners and check whether it is available. If not, open the window for adding devices and select it.
Some models require a USB connection during initial setup and a manufacturer’s setup assistant to connect to Wi-Fi. Others create their own wireless network, which you need to connect your Mac to temporarily; you can then use their software to switch them to your usual network. Check the manual to find the right procedure and download the software from the manufacturer’s website if needed.
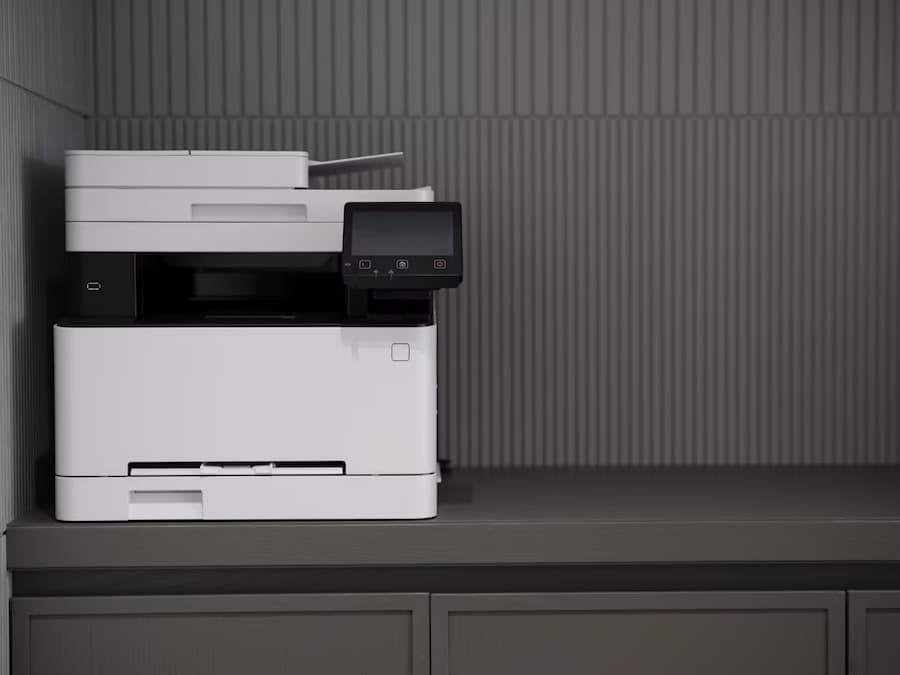
For USB, connect the printer to a power supply, plug it into your Mac and switch it on. Many models are detected automatically, although older ones may need specific software. If it is not ready to use, add it from the same settings panel. Depending on the ports available, you may need a USB-to-USB-C adapter; on a MacBook with a single USB-C port, a multiport hub lets you keep the power connected too.
For Bluetooth, first enable pairing mode by following the manual, then look for the printer in the window for adding devices. Select it and click Add. If it does not appear, you may need to download the manufacturer’s driver.
Add a printer by IP address
When a network printer does not appear in the list, you can try adding it using its IP address. Look for the address on the device’s display or in its mobile app, if it has one. The manual or manufacturer’s website can explain where to find it for your model.
In Printers & Scanners, open the window for adding a printer and select the IP tab, marked with a globe icon. Fill in the required fields:
- Address: enter the printer’s IP address.
- Protocol: choose the one specified in the model’s documentation, such as AirPrint, IPP or LPD.
- Queue: if the network printer requires a queue name, ask the administrator for it. You can also try leaving this field blank.
- Name and location: use a recognisable name and, if you wish, a location to help you identify it.
- Software: check that the correct software for your printer is shown. If it is not selected, look for it in the drop-down menu; if it is not listed, you may need to download it from the manufacturer.
Click Add and wait, as detection may take a few minutes. Follow any prompts to download software or configure features such as additional trays or double-sided printing.
Use a shared printer or an office configuration profile
Another option is a printer shared from a Windows computer, provided that computer is on your network and has printer sharing enabled. In the window for adding devices, open the Windows tab, find the workgroup, select the print server and then the printer. Check the software in the corresponding drop-down menu and click Add.
In some offices, you will first need to install a configuration profile supplied by the administrator. Download the file, open it and follow the installation instructions, authorising the installation if prompted. Check that it appears in System Settings > General > Device Management, then add the printer.
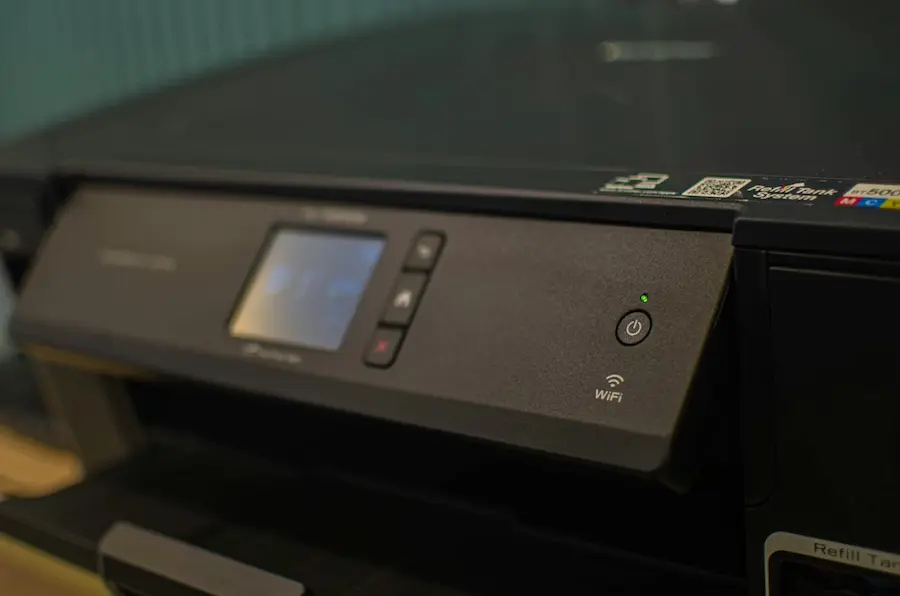
What to check if your Mac cannot detect the printer
Before resetting any settings, try these checks:
- Check the connection. If you print over Wi-Fi, both devices must be on the same network. Also check whether your model needs a USB connection to complete the initial setup.
- Check for updates. Check for macOS updates in System Settings > General > Software Update and visit the manufacturer’s website for the latest drivers, especially if the printer is old. In a workplace or educational setting, also ask whether a new configuration profile is available.
- Restart your Mac and printer. If you suspect a wireless connection issue, you can also restart the router.
As a last resort, you can reset the printing system. Bear in mind that you will need to add all your previously configured printers and scanners again.
To do this, go to Printers & Scanners, right-click or Control-click the printer list, even if it is empty, select the reset option and confirm with administrator authorisation if prompted. Then add your devices again from the same settings panel.


