
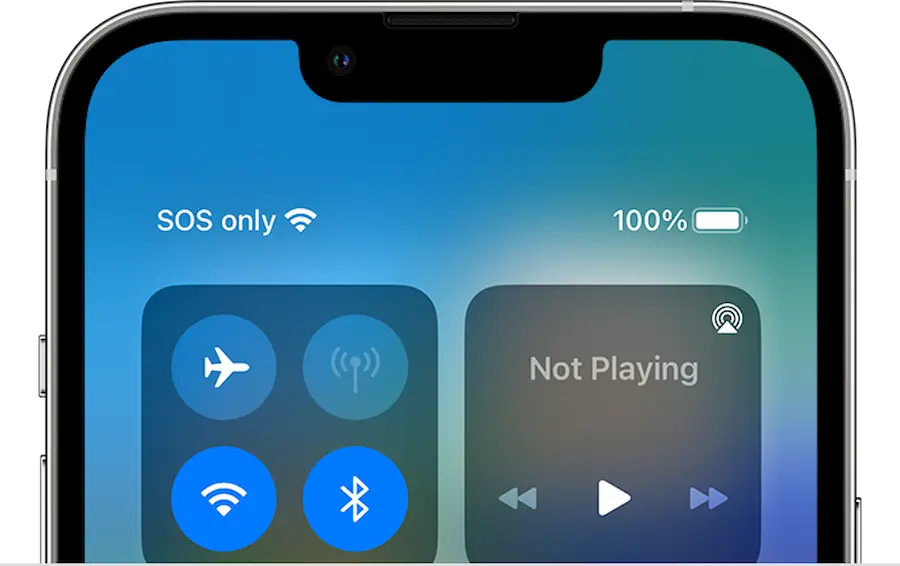

The iPhone can show your allergies, medication and emergency contacts to someone trying to help you, even when it is locked, but you need to enter that information first. It all starts in Health, under Medical ID, where you can prepare your record and choose which people to notify if you use Emergency SOS.
The key is to distinguish between three things: what information you store, who can see it, and how an emergency call is triggered. What is the point of carrying that information in your pocket if nobody can access it when you cannot respond? This setup is less exciting than unboxing a new gadget, but it has a much more serious purpose.
How to fill in your Medical ID and add contacts
Open the Health app, go to Summary and tap your profile picture in the corner. Then open Medical ID and tap Edit to complete the record. You do not need to install any additional apps: both Health and Contacts let you prepare this information.
Start with medical conditions, allergies and medication, because these are the details that can help healthcare professionals assess the care you need. Enter the exact names of medicines rather than generic descriptions; writing “blood pressure pills” is less precise than identifying the specific treatment.
You can then add other fields, such as age, height, weight or blood type, and use the notes section for information that does not fit into the previous categories. When you are done, save your changes instead of leaving the record half-finished for that “later” that often never comes.
On the same screen you will find your emergency contacts. While editing, tap the add button, choose someone from your address book and specify your relationship. It is worth adding more than one person in case the first is unavailable, and letting them know they may receive an alert with your location.
There is one detail that is easy to overlook: automatic Emergency SOS notifications require Messages to be the default text messaging app. If you have deleted Messages or use another app as the default, those contacts will not receive the automatic notification through this channel.
Access with the iPhone locked and SOS settings
In Medical ID, enable the option to show the record when the phone is locked if you want someone else to be able to view it without your passcode. From the passcode entry screen, they can tap Emergency and access your medical information.
The trade-off is clear: that information will be available to anyone holding the iPhone, not just healthcare personnel. Hiding it better protects your privacy, but prevents a stranger trying to help you from reading it without unlocking the device. It is the same kind of judgement you should apply when reviewing your WhatsApp privacy or deciding whether you want to hide your number on Telegram.
Another separate option lets you share your Medical ID during an emergency call from the iPhone or Apple Watch. Its availability depends on the country or region, so it should not be taken for granted. It also requires Emergency Calls & SOS to be enabled in Settings, Privacy & Security, Location Services, System Services; turning it off does not affect access from the lock screen.
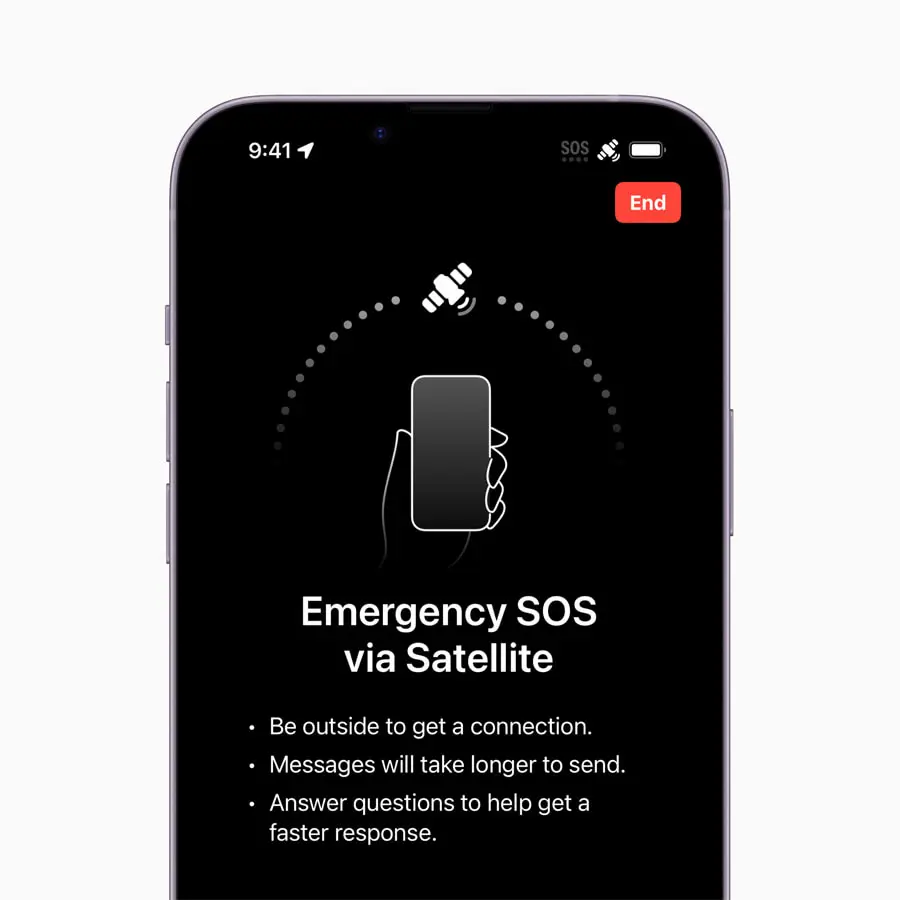
Next, go to Settings, Emergency SOS and review the activation methods. Holding down the side button and one volume button for several seconds starts an audible countdown before calling. You can also enable calling by pressing the side button five times, although this is easier to trigger accidentally.
If you choose that shortcut, consider silent calling carefully: it removes the sound warning that could alert you to a mistake. If an accidental call connects, stay on the line and explain what happened. You can also review calls after a serious crash; even if you disable the shortcuts, the emergency slider on the power-off screen will still be available.
Prepare satellite SOS and keep your record up to date
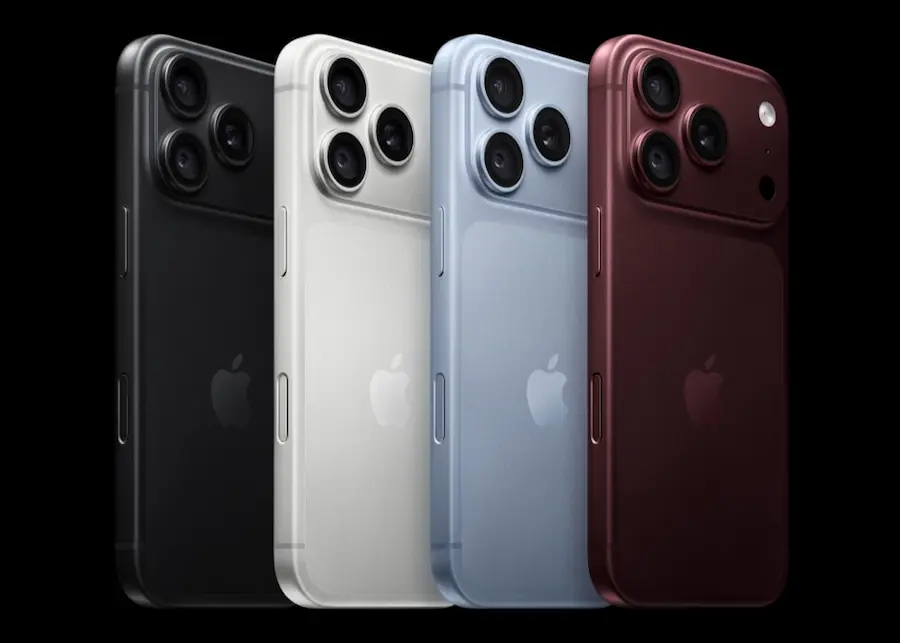
Emergency SOS via satellite requires an iPhone 14 or later and lets you request help when there is no mobile coverage or Wi-Fi. Before heading to an area without connectivity, check your Medical ID and contacts: the system will share the information you already have saved, not a version magically updated on the spot.
When the connection is established, the iPhone allows a message exchange with emergency services that includes the answers to the initial questionnaire, your location with altitude, and remaining battery. If you have completed your Medical ID and contacts, that information is also included in the communication.
In this case, notifying your contacts is a choice. You can decide to share the information with them during the satellite conversation and, once accepted, messages are sent automatically. Contacts using iMessage with iOS 16.4 or later can receive a live transcript, including the answers, a map and the messages exchanged, and must confirm whether they want to keep receiving updates.
Finally, review your record whenever a prescription changes, you receive a diagnosis, or one of your contacts changes number or is no longer available. Update each detail in its corresponding section and check everything before travelling without coverage: the usefulness of this feature depends both on being able to access it and on it still reflecting your real situation.


