
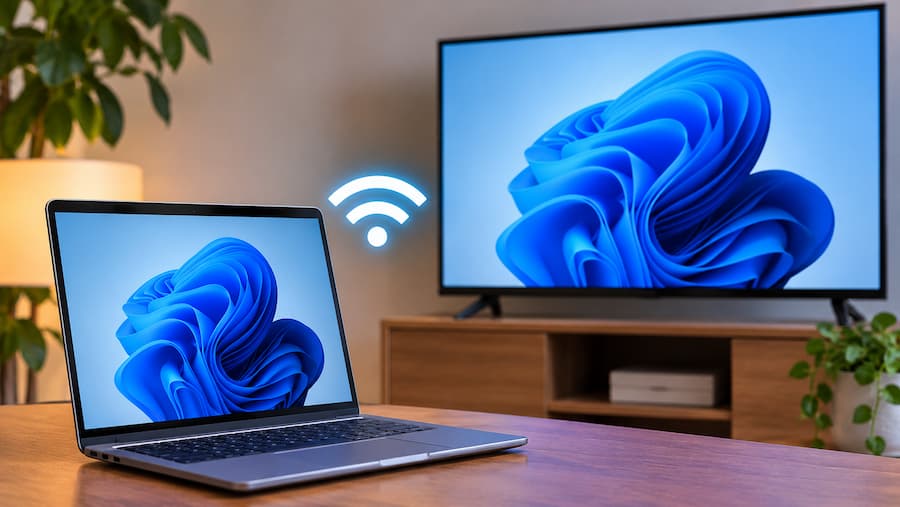

You try to mirror your computer screen to your TV, only for Windows to tell you that your device does not support Miracast. Although it sounds definitive, this message does not always mean your hardware is incompatible: it can also appear because of incorrect settings, outdated drivers or receiving features that have not yet been enabled.
To fix it, first check that your devices are compatible, turn on Wi-Fi on both and prepare the receiving display. If you are projecting to another Windows PC, also check that the Wireless Display feature is installed. If the hardware really is incompatible, you will need to consider an adapter for the receiving device or another connection method.
Check whether your devices support Miracast
Miracast lets you project your screen over a direct wireless connection between devices, but both devices need to support it. A TV having wireless connectivity does not necessarily mean it can receive a Miracast connection; check its specifications before changing any settings.
If you want to use another computer as the receiving display, you can check compatibility as follows:
- Open Start, search for Command Prompt and run it as administrator.
- Enter
netsh wlan show driverand press Enter. - Find the line about wireless display compatibility, which may appear as Wireless Display Supported. Check that it says Yes for both the graphics driver and the Wi-Fi driver.
For a TV or monitor, check the manual or the manufacturer’s website for references to Miracast. You can also look through the network, connection or display settings, where the feature may appear under names such as Screen Mirroring, Wireless Display or Wi-Fi Display.
If the receiving display does not have built-in support, a Miracast adapter connected to its HDMI port can provide that functionality. This is a solution for the receiving device, not a way to add support to the computer you are projecting from.
Turn on Wi-Fi and prepare the receiving device
Wi-Fi must be turned on on both devices, although they do not need to be connected to the same wireless network: Miracast establishes a direct connection between them.
In Windows, click the network icon on the taskbar and check that Wi-Fi is enabled. On your TV or monitor, you will need to check its settings, following the manufacturer’s instructions if the menu is unclear.
When projecting to another Windows PC, you also need the optional Wireless Display feature. First, search for that app in Start; in Windows 10 and some earlier versions of Windows 11, it may be called Connect. If it is not installed:
- Open Settings with Windows + I and go to System > Projecting to this PC.
- Open Optional features and click View features next to the option to add a feature.
- Search for Wireless Display, select it and click Next > Install.
- Once installation is complete, open the app from Start.
The receiving device must also be discoverable. Under Projecting to this PC, choose availability everywhere or on secure networks, depending on the options shown. If you are using a TV, enable its mirroring or projection feature, which may be called Smart View, Screencast or another name chosen by the manufacturer. Simply having the display switched on does not necessarily mean it is ready to receive content.
What to check if your devices are compatible but Miracast still fails
Once you have checked compatibility and set up the receiving device, try these troubleshooting steps:
- Restart both devices. Restart your PC and the device you are trying to project to, to rule out a temporary software glitch.
- Update the Wi-Fi driver. Open Device Manager by right-clicking Start, expand Network adapters and locate the Wi-Fi adapter. Right-click it, select Update driver and use the automatic search option. If Windows finds no updates, check the manufacturer’s website. If you are projecting to another computer, check its driver too.
- Check for system updates. Update Windows and check whether new firmware is available for your TV or monitor, following the manufacturer’s instructions.
- Remove the saved display and reconnect it. In Windows 11, go to Settings > Bluetooth & devices > Devices; in Windows 10, go to Settings > Devices > Bluetooth & other devices. Select the wireless display, click Remove device and connect again.
- Check Wireless Display permissions. Open Windows Security > Firewall & network protection > Allow an app through firewall. Click Change settings and check that Wireless Display is allowed. If it is not listed, you can add it using Allow another app. Save your changes by clicking OK.
If there are no Wi-Fi driver updates and the problem persists, another option is to reinstall the driver: in Device Manager, right-click the adapter, select Uninstall device and confirm. Restart your PC; Windows should reinstall the driver automatically.
Alternatives if you cannot use Miracast
Chromecast can be an alternative, although it uses the local Wi-Fi network rather than Miracast’s direct connection and requires a compatible receiver, either built-in or external.
A wired connection is also an option: HDMI, DisplayPort or USB-C/Thunderbolt, depending on the ports available. If you simply want to show your screen on another display, using a cable saves you from continuing to tweak a feature your hardware does not support.


