
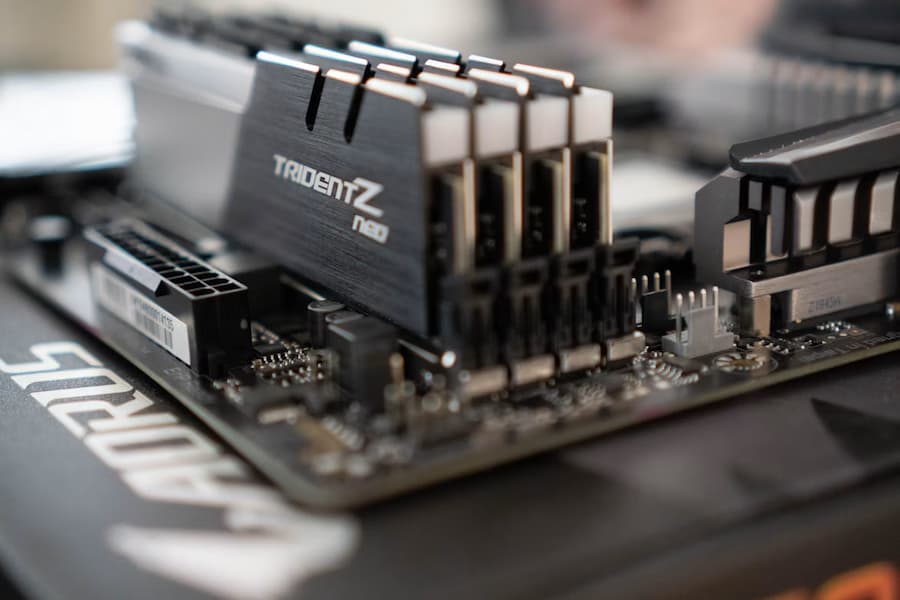

If your computer freezes, crashes or behaves erratically, its RAM could be the cause. To help you check, Windows 10 and Windows 11 include Windows Memory Diagnostic, a tool that tests your memory without requiring any additional software. You can open it with the mdsched.exe command; the process requires a restart and lets you check for any detected errors once it finishes.
How to run Windows Memory Diagnostic
- Save any open documents and close the files you are working on, as the test requires restarting your computer.
- Press Windows + R, enter mdsched.exe and press Enter. You can also type Windows Memory Diagnostic into the search box on the taskbar or Start menu and select the matching result.
- Choose whether to restart immediately and check for problems or run the check the next time you start your computer. The second option lets you postpone the test without having to launch it again manually.
- After the restart, a blue screen will display the diagnostic progress and status. This blue screen is part of the tool and does not in itself mean there is a fault. Wait for the check to finish: it can take anywhere from a few minutes to several hours.
Where to find the results and how to interpret them
When your computer boots back into Windows, it should display the test result, although this notification does not always appear. No notification does not mean the test found no errors: to find out what happened, you can check the log in Event Viewer.
- Press Windows + R, type eventvwr.msc and press Enter to open Event Viewer.
- In the left-hand pane, expand Windows Logs and select System.
- Use the Find option in the right-hand pane, enter MemoryDiagnostic and click Find Next to locate the diagnostic entry.
If the report shows errors, the RAM is probably faulty, and replacing it would be the next step. If it finds no problems, the memory appears to be working correctly, but that result cannot completely rule out a fault.
The built-in diagnostic is a useful initial check, not a foolproof guarantee. If crashes continue and the report does not match your computer’s behaviour, it is worth checking with another tool or contacting a repair service.
When to use MemTest86 to double-check the results
MemTest86 is an alternative tool for testing your RAM again if you need to verify the Windows results. It offers both free and paid versions, and getting it running involves creating a bootable USB drive, so it requires more steps than the built-in utility.
Before you begin, keep this important warning in mind: the process will erase all data on the USB drive. Save any files you want to keep elsewhere.
- Download MemTest86 from its website and extract the ZIP file.
- Connect a USB drive with between 1 and 8 GB of free space. In the extracted folder, open imageUSB, select the drive and make sure the Write image to USB drive option is selected.
- Confirm the prompts to create the bootable drive and, once the process is complete, restart your computer with the drive still connected.
- During startup, before the computer’s logo appears, open the boot device selection menu using the appropriate key. Common keys include F8, F9, F11, F12 and Esc.
- Select the USB drive and let MemTest86 complete its tests, which can also take several hours. Red lines in the report indicate memory errors.


