
Have you lost sound from your Bluetooth speaker or is your wireless projector showing nothing even though Windows says it’s connected? Stay calm — most Bluetooth audio and wireless display issues in Windows 10 have quick fixes if you follow a clear checklist. Also, with a couple of strategic tweaks —much like when GeForce Experience suggests updating your GPU drivers— you can get your setup sounding and looking as it should.
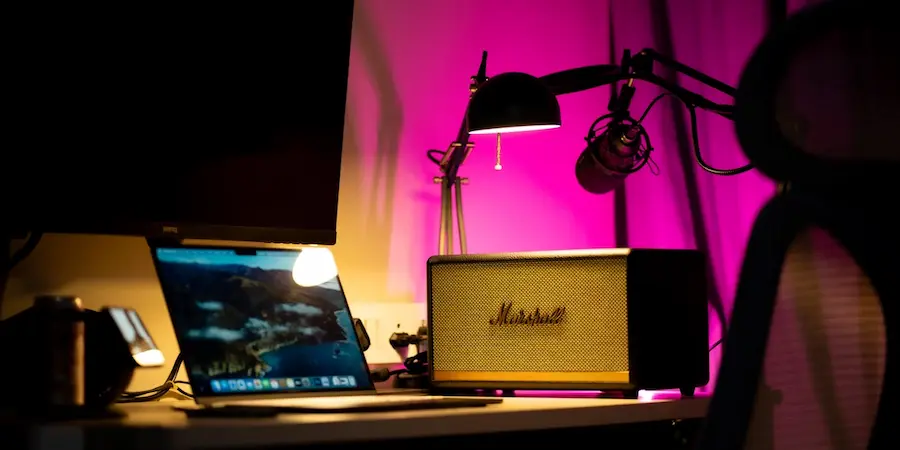
Bluetooth audio: from “no sound” to “perfect audio”
Start with the basics: confirm that the PC’s Bluetooth is on via Settings > Devices > Bluetooth & other devices, and that Airplane mode is not enabled. Then make sure your speaker, headphones, or soundbar are powered on, have enough battery, and are properly paired; if they use disposable batteries try fresh ones, and if rechargeable give them a charge before persisting. A little-known tip: keep them away from USB 3.0 ports and peripherals connected to the computer, as they can cause interference on the 2.4 GHz band.
If everything is paired but there’s no audio, check the active output: right-click the volume icon in the notification area and select your Bluetooth device as the default output, confirming that the volume isn’t muted. If the audio sounds “tinny” or cuts out, open Sound Control Panel (right-click the speaker > Sounds), Playback tab, choose your device, and under Properties > Advanced set the highest quality available; take the opportunity to try other levels until you find the one that performs best on your system.
For intermittent dropouts, disable power-saving features that throttle Bluetooth. Turn off Battery saver from the Action Center and, in Device Manager, open the Bluetooth adapter, go to the Power Management tab and uncheck any boxes that allow the system to suspend it. If it persists, run the troubleshooter: Settings > Update & Security > Troubleshoot > Bluetooth. You can also restart the “Bluetooth Support Service” from services.msc to revive the Bluetooth stack without rebooting the PC.

Video and wireless displays: stable connection and no black screen
The first silver bullet for any wireless display issue is to restart the PC and the display, TV or projector. After that, verify something critical: even if you’re using an Ethernet cable, you must have Wi‑Fi enabled to use Miracast, so check in the network icon that the wireless connection is turned on.
If it worked before and now it doesn’t, “forget” the display and pair it again: Settings > Devices > Bluetooth & other devices, select the display and click Remove device, then add it again. When Windows says it’s connected but the panel remains black, check the input channel on the display itself using the Source/Input button on the remote or chassis, cycling through inputs until you find the correct one.
Another classic invisible culprit is firewall blocks or security suites. Disable them temporarily to test; if you’re on a corporate or school network, check with IT in case there are rules blocking the ports or protocols Miracast uses. This step avoids headaches when it seems “everything is fine” but the connection won’t establish.
Does your PC or display support Miracast? Options if the answer is no
Before continuing, check compatibility. On the PC, type “Connect” in the Start menu and open the app; if your device supports Miracast it will be reflected there. For the display, check its documentation or search its model together with the word “Miracast” on the manufacturer’s website. If the display isn’t compatible, add that function with a Miracast adapter connected to the HDMI port, a simple upgrade that turns any monitor into a wireless receiver.
Can’t use your display, but have another Windows 10 PC at hand? You can use it as a wireless display by installing the “Wireless Display” feature: on the second PC go to Settings > System > Projecting to this PC, enter “Add a feature”, search “Wireless Display” and click Install. After that, from the source PC you can project to it as if it were a monitor. In fact, many televisions already include Miracast, so trying with a TV is often a quick way to check whether the problem is with the original display.
With these step-by-step checks —very much like assembling a Raspberry Pi and enabling modules until everything fits— you will likely recover Bluetooth audio and wireless projection without reinstalling anything else. Ready to share your screen and enjoy sound without cables again? If you follow the sequence of tweaks and validations in this article, you’ll go from frustration to “all OK” in minutes.
