

If you’ve made it this far, you’re probably fine-tuning your gaming setup—or you’ve simply come across a setting called polling rate and want to know what it actually does and whether it’s worth changing. The idea is simple: the mouse polling rate indicates how often the mouse sends information to the computer, both for movement and clicks, and it’s measured in hertz (Hz). The higher it is, the more frequently it reports data and, in theory, the less delay you feel between what your hand does and what happens on screen.
In latency terms, the usual equivalents make it easy to grasp: 125 Hz is associated with around 8 ms, 250 Hz with 4 ms, 500 Hz with 2 ms, 1,000 Hz with 1 ms, and in more extreme territory, 4,000 Hz would be about 0.25 ms and 8,000 Hz close to 0.125 ms. Does that sound like science fiction for such an everyday peripheral? A little—but it makes sense when you’re chasing fine precision in fast movements, especially in competitive games where every millisecond matters… at least when the rest of your hardware can keep up.
That said, it’s worth clearing up a common misconception: polling rate is not the same as DPI. DPI (dots per inch) describes how many pixels the cursor moves for every inch you move the mouse—basically sensitivity and movement speed. Polling rate, on the other hand, is about reporting frequency, and it affects response time for both movement and clicks. Put differently: you can have extremely high DPI and still not improve how “instant” the signal feels if your polling rate is too low.
What improves (and what doesn’t) when you raise the polling rate
Increasing the polling rate raises the number of times per second the mouse sends data to the PC, which can translate into a snappier, more “connected” feel—especially when aiming and making micro-adjustments. However, it’s not a magic tweak: your CPU has to be able to keep up. If the processor can’t handle it, the change may be imperceptible or, in the worst case, introduce input lag (the exact opposite of what you want).
The other big factor is your monitor and its refresh rate, also measured in Hz: how often it updates the image each second. With 120 Hz displays or higher, you’re more likely to notice an improvement when moving from a low setting (like 125 Hz) to higher values, and with 240 Hz monitors it can make even more sense to fine-tune this parameter. By contrast, on a typical 60 Hz laptop, the difference usually fades and the benefit is minimal—no matter how impressive the numbers on the mouse box look.
There’s also a less-discussed factor: not every app and game takes advantage of extremely high polling rates. You can have a mouse capable of very high frequencies, a powerful PC, and a fast monitor, and still find that the software isn’t optimized for it. It’s one of those details that can clash with “hardcore” expectations, but it’s part of the ecosystem’s reality.
And there’s a clear cost, especially with wireless mice: higher polling rate means higher power draw. By asking the mouse to “talk” to the PC more often, battery life takes a hit. In plain terms, it’s transmitting more signals in less time, so drain accelerates. Is it worth running 1,000 Hz if it noticeably cuts autonomy and you end up playing plugged in “just in case”? That one depends on your priorities.
How to change the polling rate: buttons, keyboard, and apps
How you adjust the polling rate depends on the model, but generally there are three routes. The most straightforward is that your mouse includes dedicated buttons to change the polling rate. Many high-end gaming models support this: you press, switch modes, and you’re done. The advantage is that you can quickly try different settings and see whether you notice a real difference in day-to-day use—without digging into software or menus.
Another option—some mice support it—is changing the polling rate when you plug it in using the keyboard. The process involves unplugging the mouse from USB, holding down certain number keys while you reconnect it and, if applied correctly, the scroll wheel may light up as confirmation. The shortcuts described are: for 125 Hz, hold 4 and 5 together while reconnecting; for 500 Hz, hold 5; and for 1,000 Hz, hold 4. It’s the kind of feature that feels like an “engineering mode” and might remind some people of old-school secret combos—just applied to a modern peripheral.
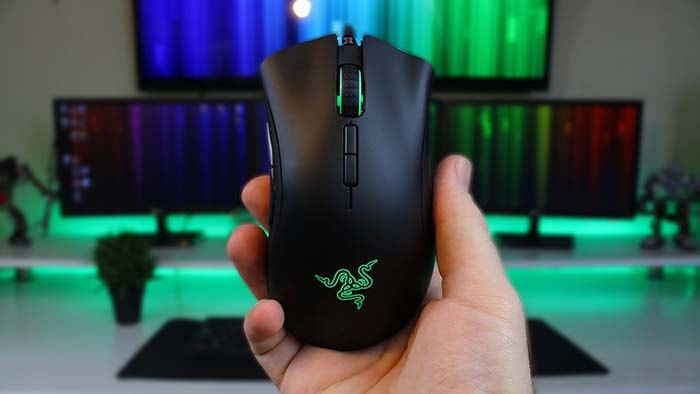
The most common method today—and the most recommended when available—is using the manufacturer’s official app. These utilities usually centralize mouse settings, and from there you can set the polling rate precisely. Several clear examples are mentioned: with Razer, you do it in Razer Synapse under the mouse performance section; with Logitech, it’s managed through Logitech G HUB where you’ll see “Report Rate (per second)”; SteelSeries includes it in SteelSeries GG (Engine); Corsair offers it in Corsair iCUE within device settings; and HyperX includes it in HyperX NGENUITY via a slider applied to the profile. If you’re already familiar with this space, it fits the current trend: the peripheral is hardware, yes—but the “soul” is often in the software.
How to check your polling rate and when to use external tools
Before trusting the number an app shows you, it’s useful to verify your real polling rate, because between settings, USB ports, and profiles, theory and practice don’t always match. A simple approach is using an online checker that measures both the maximum and the average. The typical process is: open a test website, start measuring, move the mouse continuously (for example, in circles) without stopping, end the test, and review the average and peak results. The sources mention a specific checker: cps-check.com in its polling rate check section.
And if your mouse has no official software and no buttons to adjust the rate? This is where things get tricky: there are third-party tools that can force or “overclock” USB mice. The provided content references a GitHub package called hidusbf, which involves downloading a ZIP, extracting it, running an installer, selecting the device, choosing a rate from a dropdown, installing a service, and rebooting from within the tool. It’s an option—but it also highlights an important point: if it doesn’t work, your mouse may simply not support changing it. In a world where not all peripherals are equally flexible, that limitation is more common than it seems.
In the end, the most sensible approach is usually the same: start with reasonable values (for example, moving from 125 Hz to 500 Hz or 1,000 Hz), confirm with a test that it’s actually applied, and then judge whether you can feel the difference in your case—taking into account CPU, monitor, software compatibility, and if you’re wireless, the impact on battery. Because changing polling rate is one of those tweaks that sounds “advanced,” but only truly shines when the rest of the setup is up to the task.
