
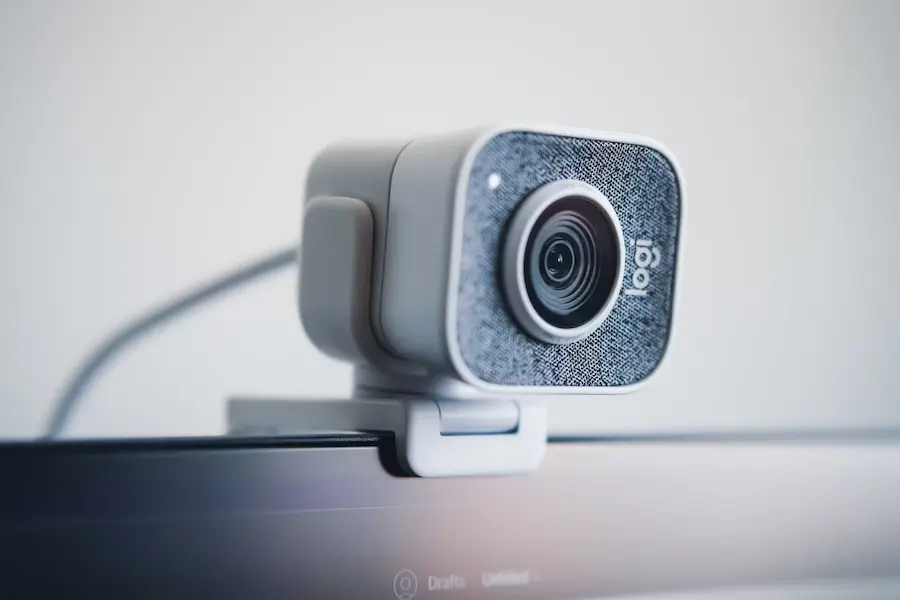

If an app cannot use your webcam, the problem may be with Windows camera permissions, not the device itself. To check them, open Settings and go to Privacy & security in Windows 11 or Privacy in Windows 10; then select Camera. From there, you can check general access and the permissions that allow apps to use it.
The key is to distinguish between those levels: Windows having access to the camera does not mean any program can display its image. What is the point of having your webcam ready for a video call if a privacy switch is still blocking it? Before changing drivers, it is worth reviewing these settings.
How to manage camera permissions in Windows 11
Open Settings with the Windows + I shortcut, or use the Start menu, and select Privacy & security in the sidebar. In the App permissions section you will find Camera, where the controls you need to check are grouped together.
Start with Camera access, located at the top. If it is turned off, the device will not be able to use the camera, so this is the first thing to check when the webcam stops responding. If it is already turned on, continue with the app permissions instead of changing it unnecessarily.
Next, enable Let apps access your camera. This section also lets you choose which apps on the list can use it, such as Camera or Microsoft Teams. That way, you can grant access to the apps you need and remove it from others without blocking the device for the entire computer.
There is a third control that is easy to overlook: Let desktop apps access your camera. Programs such as OBS Studio or your browser need this option to be enabled; also, you will not be able to turn it on if you have previously disabled the general permission for apps. Yes, there are several doors to open before you get to the image.
To remove permissions, return to this same panel and turn off the relevant switch. The practical difference is the scope: you can block access for an app included in the list or disable general access, depending on what you want to restrict.
Where to turn the camera on or off in Windows 10
In Windows 10, the path changes slightly, although the logic is similar. Press Windows + I to open Settings, go to Privacy and look for Camera in the side menu, under app permissions. You can also open Settings from the gear icon in the Start menu.
At the top, you will see an indication of camera access for that device. If it is shown as off, click Change and enable the switch that appears. When access is already allowed, you do not need to modify this setting: move on to the next level of authorization.
Then check Allow apps to access your camera. This permission must be enabled so apps can receive the image, even if device access is already active. These are two separate checks, and stopping at the first one can make it look as if everything is configured correctly when another authorization is still missing.
If you want the opposite effect, you can turn off the controls from this same screen. Do not confuse allowing the camera to work on the computer with authorizing apps to use it: checking both levels helps you both restore the image and fine-tune privacy.
What to check if the webcam still does not work
Once permissions are sorted out, start with the physical side: check that the privacy cover or shutter is open and, if you are using an external webcam, unplug and reconnect the USB cable without forcing it. Some laptops also have a camera key; a closed shutter will not be fixed by reinstalling anything.
If the problem appears during a video call in the browser, check the browser’s own permissions. Open its settings, search for camera and check whether the website is authorized. You can add specific sites to the allowed list so they can access it regularly. The Windows permission does not replace the one managed by the browser. If the audio also fails, check the microphone permissions in Windows.
When Windows does not detect the camera, it is time to check the drivers. Right-click Start, open Device Manager and expand Cameras. If it does not appear, look for an unknown device, because an installation error may be preventing it from being identified correctly.
To reinstall it, right-click the camera, choose Uninstall device and select the option to delete its driver. Restart the computer and connect the webcam if it was disconnected: Windows will try to install the drivers again. If it does not recognize it automatically, go back to Device Manager, right-click Cameras and select Scan for hardware changes.
You can also right-click the camera and choose Update driver, either using automatic search or by selecting one you previously downloaded from the manufacturer’s website. The order makes sense: first permissions, then connection and browser, and finally drivers, reserving reinstallation for detection problems instead of making it the first thing you try.


