

If you’re setting up (or just exploring) a connected home, there’s one type of sensor that often takes a back seat to thermostats, cameras, or air-quality monitors—yet it can save you the biggest headaches: the water leak sensor. The reason is simple and not very glamorous: a leak, especially on an upper floor, can warp floors, ruin electronics, and seep into places you’d never expect; and even if you manage to dry everything out, the plan usually involves weeks of heaters, dehumidifiers, and—in bad cases—temporarily moving out.
These small, battery-powered sensors work on an almost “high-school science lab” principle: they include two metal contacts and you place them where water would show up first (under a sink, near a dishwasher, next to a washing machine, etc.). When water bridges those contacts, the device detects it and triggers an alert. Even with a short lead time, you typically have enough time to shut off the water and start dealing with the issue before a mishap turns into a renovation.
Also, the best thing about this kind of sensor is that you don’t always need a fully smart home to get started. Many models don’t just “talk” to a smart platform—they also include a loud audible alarm, which is exactly what you want so everything doesn’t depend on a notification that might arrive while you’re on the subway or in a meeting. Who hasn’t ignored a phone alert thinking they’ll check it later?
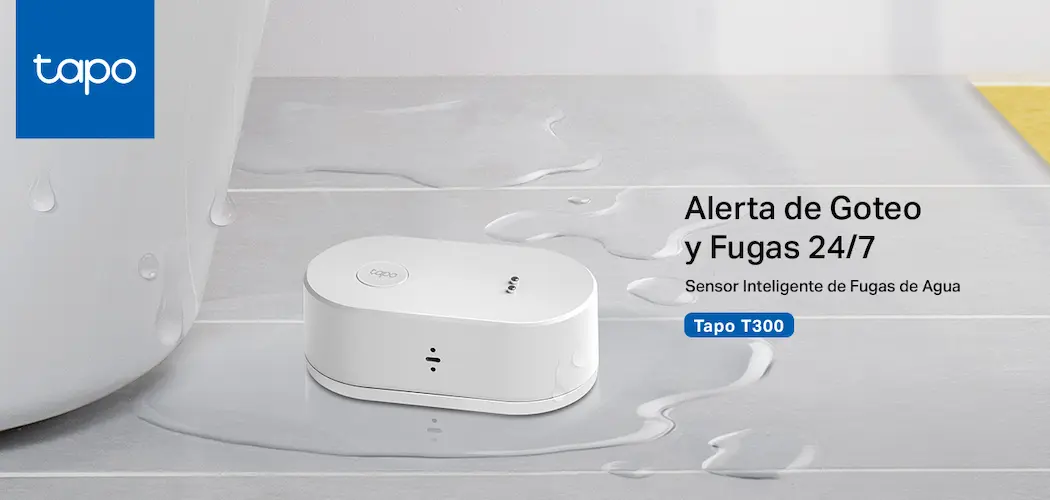
There are plenty of options on the market—you can search on Amazon, specialist retailers, and IKEA even sells its own sensor. If you want one that works perfectly, on Amazon you have the Tapo T300, which offers one of the best price-to-performance ratios. Here’s the link.

How they work—and where to place them so they actually help
A leak sensor is only as useful as where you put it. The idea is to place it directly on a surface beneath a likely water source: inside the sink cabinet, near the trap, at the base of the dishwasher, behind the toilet if you’re worried about a slow leak, or next to a washing machine that’s caused trouble before. By detecting moisture via those two metal contacts, the device triggers the alert and gives you the chance to shut off the supply and find the cause.
Compared with other home sensors that track temperature or ambient humidity, a leak sensor is more “binary” and, for that very reason, extremely effective: there’s no need to interpret trends or charts—just an immediate warning when something abnormal happens. And if it also has an audible alarm, it becomes a fairly self-sufficient guardian even if you don’t yet have a hub, smart speakers, or a central control app.
That said, if you do have a smart home ecosystem, this sensor also becomes a trigger for automations—perfect for that geeky fantasy of “a house that takes care of itself” (with some restraint, because poorly planned automations can backfire). The key is that the sensor can report the leak event to your system so you can respond with rules.
Automate alerts: when the sensor detects it, the home responds
The leap from “I find out when I’m nearby” to “I find out when I’m away” comes with notifications. On platforms like Home Assistant, the sensor can show its status on the dashboard, but that doesn’t guarantee you’ll get an immediate warning. If you don’t create an automation, the most absurd thing can happen: the sensor detects the leak, the dashboard updates… and nobody knows until it’s too late.
The typical logic is straightforward: create an automation that triggers when the sensor switches to a wet state (for example, a “became moist” trigger) and then runs actions. Some of the most useful actions include sending a critical alert to your system’s app, making a smart speaker sound like a home siren, or even turning on and flashing lights so the warning is impossible to ignore. It’s not about putting on a show—it’s about making the event stand out above the usual notification noise.
Once it’s set up, it’s worth testing. You can simulate the bridge between contacts with a damp finger or a small piece of slightly wet paper, checking that the notification arrives and that the actions run the way you expect. And yes: warn anyone at home first, because a test that turns on lights and triggers alarms can create more stress than an ill-timed firmware update.
One practical detail with the IKEA BADRING: after an alert, you may see somewhat finicky “reset” behavior in integrations like Home Assistant or Apple Home. The way to clear it is to dry the detector and then bridge the contacts three times quickly in a row, so the system understands the leak is no longer present.
The pro level: leak sensors + an automatic shut-off valve
Where these devices get truly serious is when you combine them with an automatic shut-off valve. Instead of only warning you, the system can shut off the water as soon as it detects a leak, reducing damage even if you’re away or can’t react. It’s the kind of automation that feels less like “smart home for show” and more like “smart home so you can sleep peacefully”.
There are a few approaches. On one hand, there are in-line valves, which install on the pipe and typically require a more involved setup. On the other, there are “robot” devices that turn an existing valve—a more approachable DIY alternative. Because those motors need real torque to move a shut-off valve, they usually require mains power, which makes sense if you want reliability when it matters.
As for models, options mentioned include the EcoNet Bulldog Valve Robot (with Z-Wave) and the YoLink FlowSmart range, which lets you pair a sensor directly with the valve to avoid intermediaries. Either way, the idea is the same: turn an alert into immediate action. Because no matter how fast a notification is, water always seems to have a special talent for spreading when nobody is watching.
