

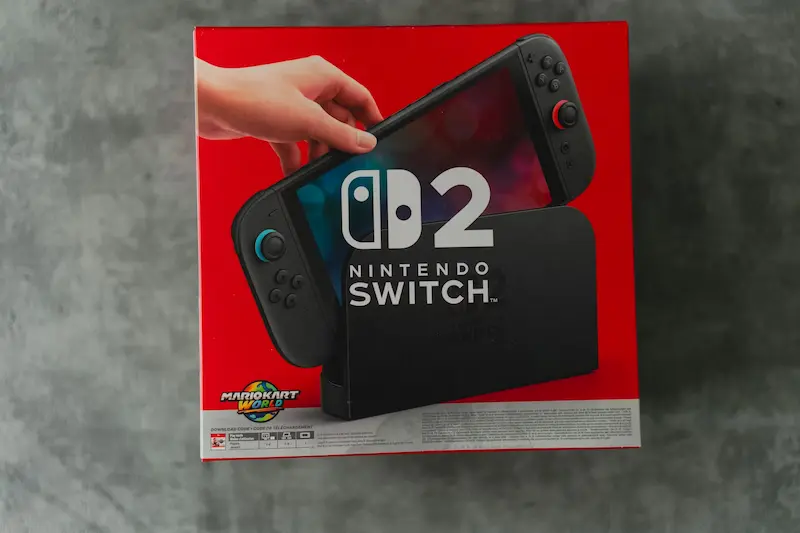
Upgrading to a Nintendo Switch 2 has that exciting new-tech feel: a larger screen, new features, and improved performance that—on paper—makes returning to your familiar games feel fresher. But the moment you think about your save files, digital purchases, and settings, the big question pops up: how do you move everything important from your original Switch without messing it up?
The good news is that Nintendo has set up a fairly straightforward System Transfer process to move your account, user profiles, save data, and other key information from the original Switch to Switch 2. With a bit of basic prep, you can be playing on the new hardware in no time, with your titles ready to download and your Nintendo Account already signed in.
Before you start: what to check
The transfer isn’t complicated, but there’s a short checklist that helps you avoid last-minute surprises—especially if you’ve built up a sizeable digital library and don’t want to waste time on preventable errors.
First, charge both consoles and keep them close during the process. It sounds obvious, but a battery interruption halfway through is exactly the kind of “mini tragedy” you don’t want on day one. You’ll also need a stable Wi‑Fi connection, since the system uses it to verify your Nintendo Account and manage what you’ll need to re-download afterwards.
On your original Switch, make sure you install the latest system update. This helps the transfer run smoothly and reduces the chance of odd behaviour while the consoles are pairing. Next, confirm your Nintendo Account is linked, and that every user you want to move is associated with a Nintendo Account; that detail is the difference between a clean transfer and a profile puzzle.
One more thing to keep in mind: most Switch games work on Switch 2, but Nintendo has said a small number of older titles may have temporary compatibility issues. If you have that one “must-have” game you always reinstall, it’s worth checking the compatibility list before migrating so you know what to expect.
And yes, screenshots and videos should transfer too—but if there’s content you absolutely can’t afford to lose, making an extra backup beforehand can save you a headache. It’s the classic move of someone who’s learned that technology is wonderful… until it decides not to be.
How to do the System Transfer from Switch to Switch 2
The process starts on the old console and finishes during the setup of the new one. On your original Nintendo Switch, go to System Settings, then Users, and select Transfer Your User and Save Data. From there, choose the profile you’re moving, confirm your Nintendo Account details, and follow the on-screen steps.
Next, turn on the Switch 2 and run through the initial setup. At one point, the console will ask whether you want to transfer data from another system—choose Start System Transfer. It’s important that both consoles are connected to the same Wi‑Fi network and stay powered on throughout, since Switch 2 will detect the original Switch and guide you through pairing the systems.
Once the connection is established, the original Switch will begin sending your user information, save data, and settings. When it’s done, Switch 2 will automatically sign in with your Nintendo Account. Your digital games won’t “magically appear installed,” but they will be available in the Redownload section of the Nintendo eShop, so you can download them again whenever you’re ready.
This approach makes a lot of sense: instead of filling up storage with your entire purchase history, it lets you prioritise what you want to play first—especially handy if your library is big or your connection isn’t exactly speed-test material.
What transfers, what doesn’t, and what to do afterwards
Most importantly, System Transfer moves nearly everything tied to your Nintendo Account. That includes your digital purchases, save data, user profiles, parental controls, certain system settings, and also screenshots and videos. Your Nintendo Switch Online subscription carries over as well, so once you’re done, you can start re-downloading your games on Switch 2 right away.
As for physical games, Nintendo Switch game cards work on the new console. That said, some titles may need patches or updates to deliver the best performance, and if you notice anything unusual with a particular game, it’s worth checking Nintendo’s updated compatibility list in case it’s a known issue.
That said, not everything is copied automatically. There are a couple of things you’ll need to set up again on Switch 2: Bluetooth pairing (for both controllers and headphones) must be redone, since those connections remain tied to the original console, and Wi‑Fi passwords don’t transfer either—so you’ll need to reconnect to your home network.
It’s also possible that certain game-specific preferences, or settings like language or region, may need a quick check on Switch 2. It usually only takes a few minutes, but it’s good to know so you don’t assume “something was lost” when it simply needs reconfiguring.
After the transfer, the most practical next step is to open the Nintendo eShop and start re-downloading your digital games, prioritising what you plan to play first. It’s normal to see slower downloads if the system queues a big chunk of your library, so arranging the order can save you real time. Then, re-pair your Joy‑Con, controllers, or Bluetooth accessories (if they’re compatible with Switch 2), and take the opportunity to update your games to the latest version and restore parental controls or family settings if you were using them.
One important note on storage: if you use a microSD card, it’s best to wait until the System Transfer is complete before inserting it into Switch 2, because the console may need to reformat it. And above all, don’t factory reset your original Switch immediately after finishing; keeping it on hand and powered up lets you calmly confirm everything arrived correctly before you decide whether to store it, give it away, or get it ready to sell.
